Tote
Foam Letters
Dry Erase Board (since he cannot talk) this will be fun for writing down conclusions too!
Baking Soda
Vinegar
Food Coloring
Corn Starch
Salt
Flour
Glow Sticks
Little Snakes and other animals
Tattoos
Book


 |
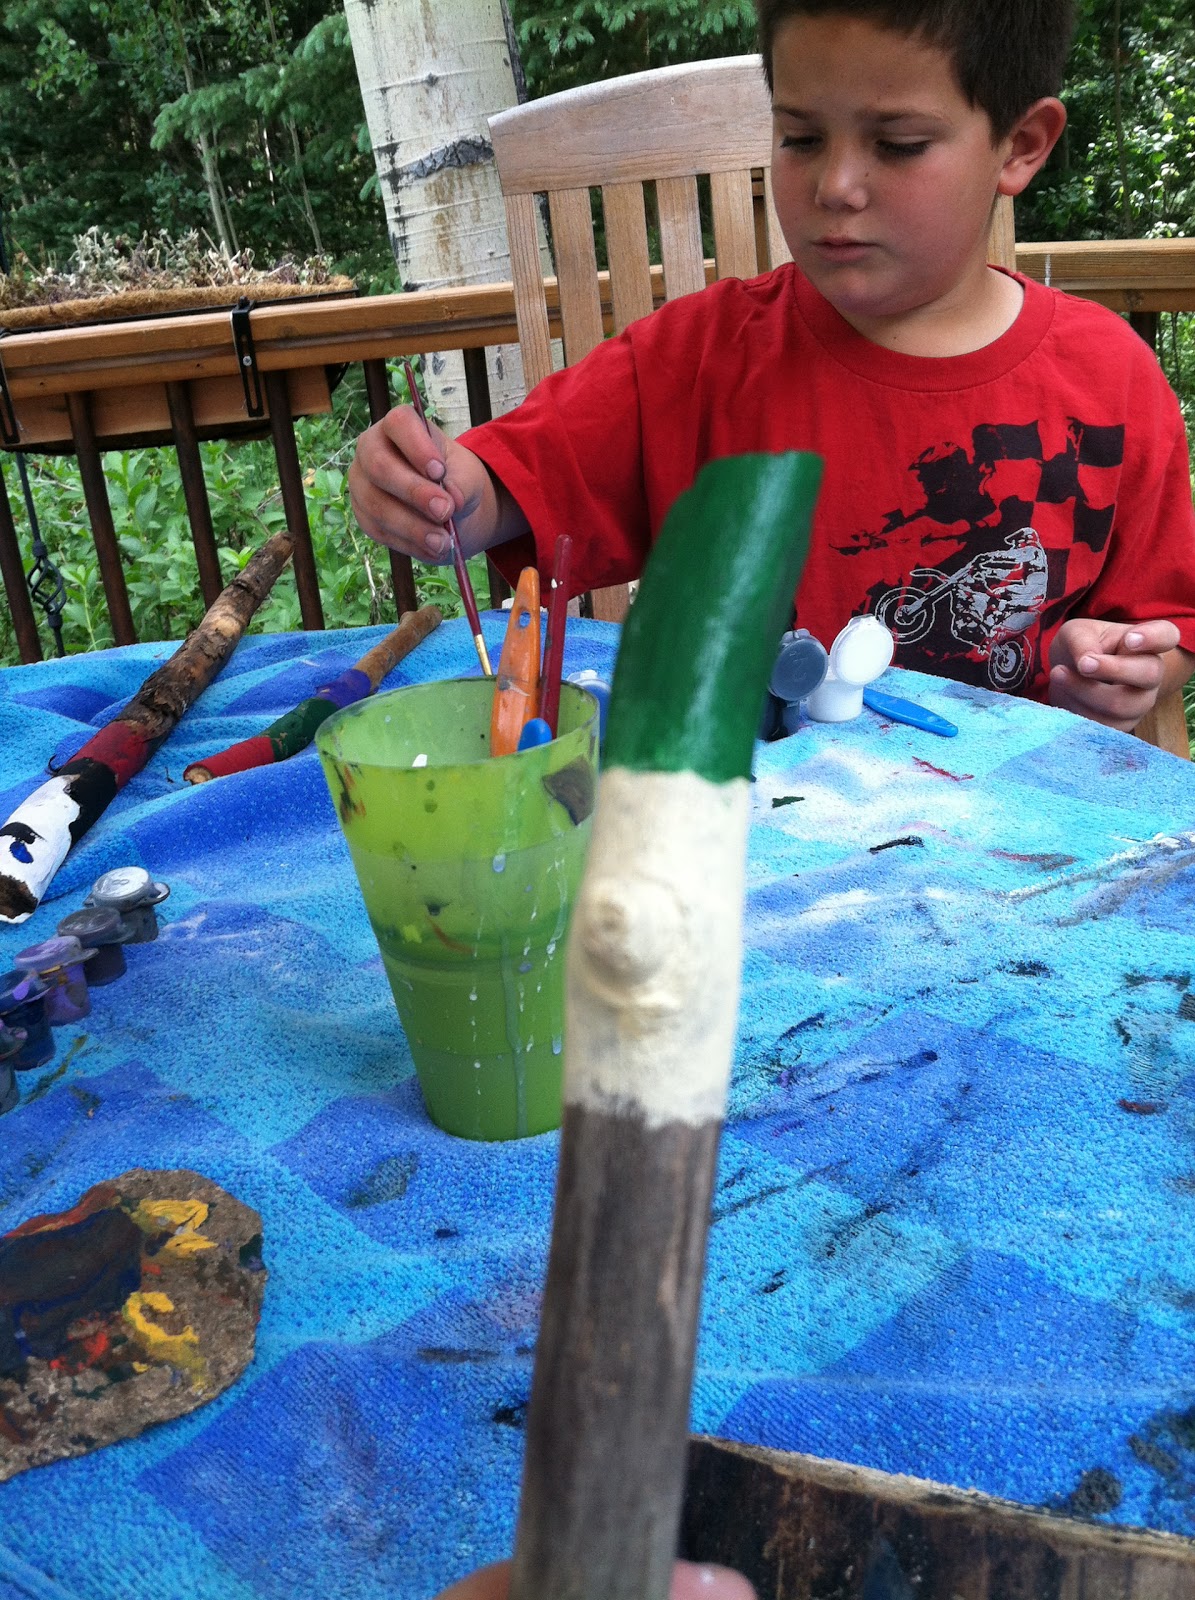
| Such Concentration! |
 |
| Finished Feeder! |


 I used foil pans from the dollar store and food coloring and made 3 levels of ice each with little plastic animals also from the dollar store including fish, shark, gators, and even little compasses which Carter was excited about and immediately launched into pirate land and finding treasure! Such imagination! I love seeing their faces light up with excitement! The kids and even the dog had a great time with these! They tried to figure out the best way to get the treasure out and tried a hammer (kids one) warm water, salt, rocks, an decided the best was dropping it over an over so chunks broke off and let out some aggression! I immediately refilled them with other treasures from the house an they are in the freezer for the next time! Quick, easy activity that kept the kids cooled off in the summer an busy having fun with each other for over an hour! Recommend!
 |
| CALLEN CHECKING IT OUT AT FIRST |
 |
| EVEN THE DOG HELPED! |


 HAVE FUN! REMEMBER IT DOES NOT HAVE TO BE PERFECT! THE POINT OF IT IS TO SPEND TIME WITH YOUR KIDS AND TEACH THEM CREATIVITY AND EXPLORE!!


